Undercoat Rakes and Blowers for a Siberian Husky
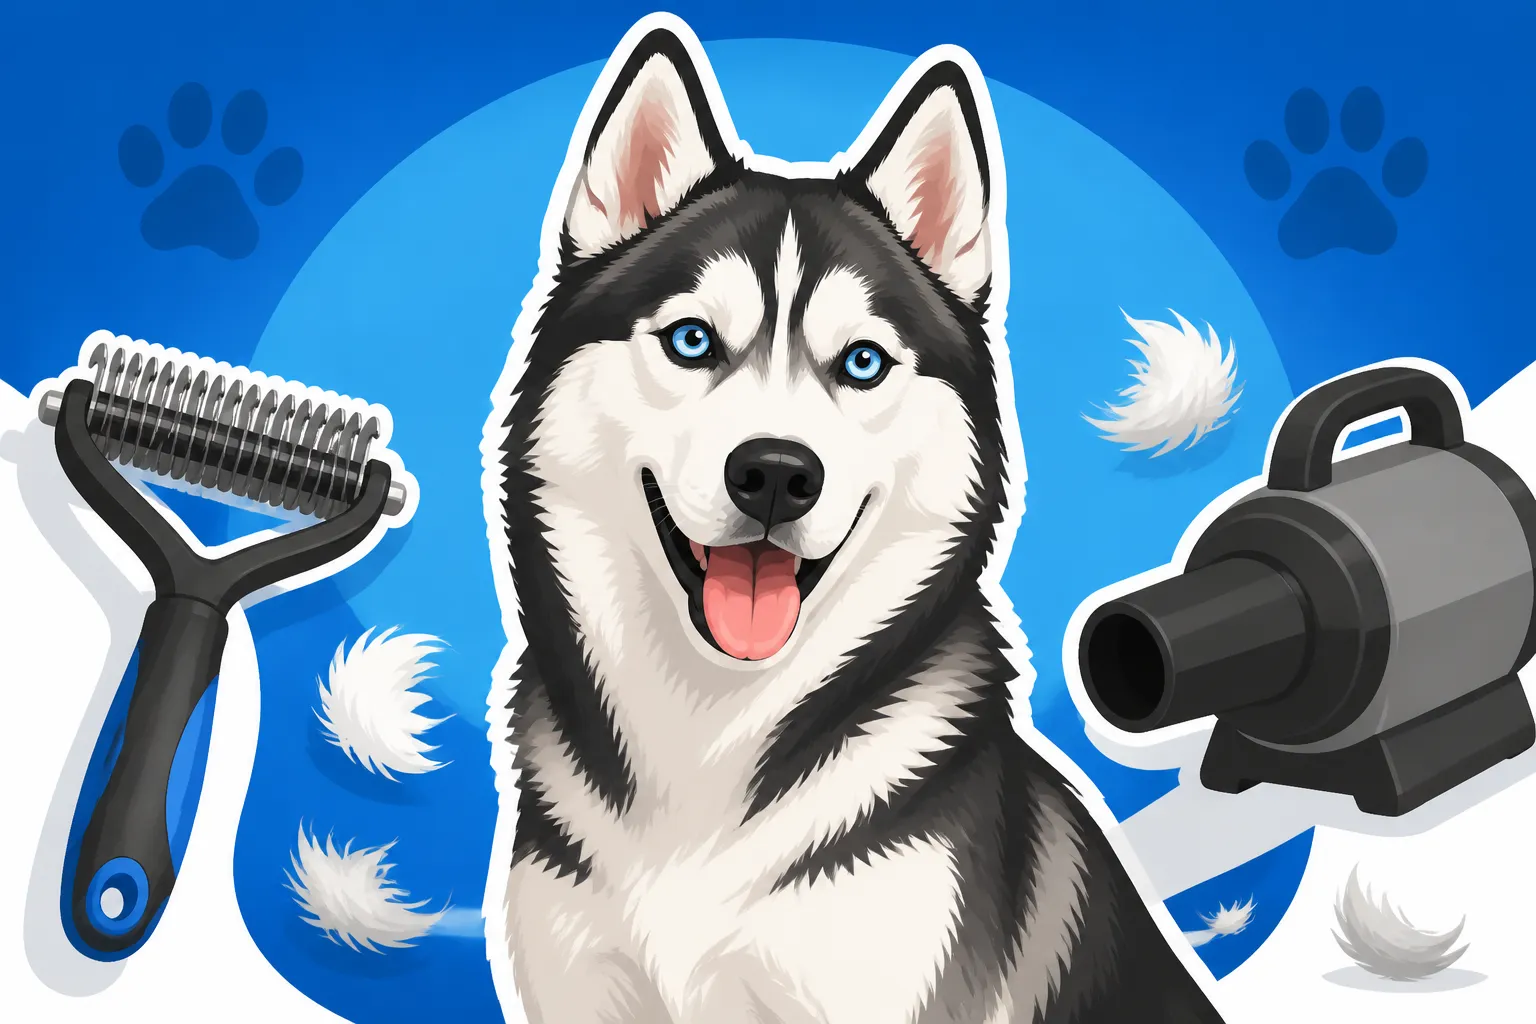
If you've ever owned a Siberian Husky, you know the absolute tidal wave of fur that can descend upon your home, especially when their "coat blows" come around. It’s not just a nuisance; it’s a significant chore that can feel overwhelming, leaving you wondering if you'll ever see the original color of your couch again. But don't despair! Understanding the right tools and techniques for managing that thick double coat is key to keeping your husky comfortable, healthy, and your home (relatively) fur-free. This guide will delve into the two powerhouse tools for husky grooming: the undercoat rake and the high-velocity dryer, helping you tame the shedding beast.
Understanding the Siberian Husky's Unique Double Coat
Living with a Siberian Husky means intimately understanding their incredible coat. It's not just hair; it's an engineering marvel designed for extreme temperatures and harsh environments. This very feature, while essential for their well-being, is also the source of every husky owner's daily battle against airborne fluff and tumbleweeds of undercoat. Ignoring it isn't an option, as it can lead to discomfort for your dog and a constant mess for you.
The Purpose of That Fluffy Undercoat
At its core, the Siberian Husky's coat is a two-layer system, a marvel of natural insulation. You've got the outer layer, known as guard hairs. These are coarser, longer, and designed to repel water, dirt, and snow, acting like a protective shield. Then, nestled underneath, is the dense, soft, and incredibly thick undercoat. This fluffy layer is what truly insulates your husky, trapping air close to their body to keep them warm in sub-zero temperatures and, surprisingly, helping to regulate their temperature in warmer weather by preventing heat from penetrating their skin too quickly.
During seasonal changes, particularly in spring and fall, your husky will undergo what is famously known as a "coat blow." This is when they shed their entire undercoat to adapt to the changing seasons. It's a natural process, but it means that literally pounds of fur can detach from their body. If this loose undercoat isn't removed, it can become matted, trap moisture, and lead to skin irritations or even infections. Managing this is a big part of Siberian Husky Coat Blow and the Six Weeks It Lasts, and it’s why specialized tools are so crucial.
Why Regular Brushing Isn't Enough
Many new husky owners, understandably, start with a basic slicker brush or a pin brush, thinking it's enough for daily grooming. While these tools are certainly useful for detangling the outer coat and distributing natural oils, they simply don't penetrate deep enough to extract the copious amounts of loose undercoat. Imagine trying to rake a thick lawn with a broom – you'd just skim the surface, leaving all the dead leaves underneath. That's essentially what happens with a regular brush and a husky's double coat.
The problem with leaving that shed undercoat behind is twofold. First, it continues to shed all over your house, sticking to everything. Second, and more importantly for your dog's health, it creates a dense, felted layer close to the skin. This can severely hinder air circulation, making it harder for your husky to cool down in warm weather. This matted undercoat can also pull on their skin, causing discomfort, and can lead to painful hot spots or skin infections if moisture gets trapped. It’s a common area for matting, especially behind the ears or under the legs, as we discuss in Matting Behind a Siberian Husky's Ears. To truly get to the root of the shedding problem and keep your husky healthy, you need to go beyond surface-level brushing.
The Mighty Undercoat Rake: Your First Line of Defense
When it comes to manually tackling that dense undercoat, an undercoat rake is an absolute game-changer. It’s a specialized tool designed to reach deep into the coat, gently grabbing and pulling out loose, dead undercoat without damaging the longer guard hairs. If you've never used one, prepare to be amazed (and perhaps a little horrified) by the sheer volume of fur you'll remove. It’s a vital tool in any husky owner’s grooming arsenal.
Choosing the Right Rake for Your Husky
Not all undercoat rakes are created equal, and finding the right one can make a huge difference in your grooming experience and your husky's comfort. Look for rakes with sturdy, rounded teeth that are specifically designed to penetrate the dense undercoat. You'll find variations in tooth length and spacing. For huskies with extremely thick coats, a rake with longer, more widely spaced teeth might be best to start, as it can get through the initial bulk without snagging. As the undercoat thins out, you might switch to a rake with shorter, more closely spaced teeth for a more thorough job.
Some rakes come with a single row of teeth, while others have a double row. Both can be effective, but a double-row rake might remove more fur with each stroke. The material of the teeth is also important; metal teeth tend to be more durable and effective than plastic ones, but ensure they are smooth and free of sharp edges that could scratch your dog's skin. Finally, don't overlook the handle! An ergonomic, comfortable grip will save your hands during long de-shedding sessions, making the process less of a chore for both of you. You can find a wide variety of effective undercoat rakes on sites like Chewy, which often provide user reviews to help guide your choice.
How to Properly Use an Undercoat Rake
Using an undercoat rake effectively requires patience and a good technique to ensure you're removing fur without causing discomfort or damage. Always start with a dry, clean coat. Begin by sectioning your husky's fur, much like you would if you were styling your own hair. Work on one small area at a time, starting from the head or neck and moving backward. Use short, gentle strokes, pulling the rake in the direction of hair growth. The goal is to lift the loose undercoat away from the skin, not to tug or rip.
You should see a significant amount of fur collecting on the rake with each pass. Regularly clear the fur from the rake to maintain its effectiveness. Pay particular attention to areas where the coat is densest, such as around the rump, neck, and chest, and under the legs. These are often the spots where the most undercoat accumulates. During a full coat blow, you might find yourself doing this daily, or every other day, as we detail in Daily Raking Through a Siberian Husky Blow. Remember, slow and steady wins the race; rushing can pull healthy fur or irritate the skin.
Common Mistakes to Avoid with Rakes
It's easy to fall into some common pitfalls when using an undercoat rake, which can make the process less effective or even uncomfortable for your husky. One of the biggest mistakes is pulling too hard or trying to force the rake through tangles. If you encounter a knot, stop, and gently try to separate it with your fingers or a wide-toothed comb before going back in with the rake. Yanking will hurt your dog and teach them to dread grooming. Another frequent error is not sectioning the coat properly, which results in only addressing the top layer and leaving much of the loose undercoat untouched underneath.
Also, resist the temptation to use a rake on a wet or damp coat. Wet fur can clump and tangle, making it impossible for the rake to work properly and potentially causing matting. Always ensure your husky is completely dry. Finally, don't overdo it in one spot. While you want to be thorough, repeatedly raking the same area can cause skin irritation, redness, or even "brush burn." Watch your husky's reactions; if they start to show signs of discomfort or pain, take a break or switch to a different area. Consistency over intensity is key with these tools.
Unleashing the Power of a High-Velocity Dryer (Pet Blower)
While undercoat rakes are fantastic for manual de-shedding, a high-velocity dryer (often called a pet blower) takes grooming to an entirely different level, especially during those epic coat blows. If you've never witnessed the sheer volume of fur that can be blasted out of a husky with one of these machines, prepare to be amazed. It's truly a game-changer for speed, efficiency, and deep cleaning.
What a High-Velocity Dryer Does That Brushing Can't
Imagine a leaf blower for your dog's fur – that's essentially the principle behind a high-velocity dryer. Unlike a human hairdryer, these specialized pet blowers are designed with powerful motors that push a high volume of air at significant speed, but without excessive heat. This powerful stream of air penetrates deep into your husky's double coat, separating the individual hairs and literally blowing out the loose undercoat that rakes might miss or can't reach as effectively. This action not only removes an incredible amount of fur in a short time but also helps to de-mat and prevent future matting by untangling hairs at the root.
Beyond de-shedding, these blowers are invaluable for drying your husky after a bath. Their thick double coats can take hours, even a full day, to air dry, leaving them damp and prone to hot spots or mildew. A high-velocity dryer significantly cuts down drying time, ensuring your husky is thoroughly dry to the skin. This also helps fluff up the coat, leaving it clean and healthy. For a deeper dive, check out Blowing Out a Siberian Husky Coat at Home. The sheer power of the air helps strip away dirt, dander, and loose hairs, promoting a healthier skin and coat from the inside out.
How to Safely and Effectively Use a Pet Blower
Introducing your husky to a high-velocity dryer needs to be a gradual and positive experience, as the noise and sensation can be intimidating at first. Start by letting them see and sniff the dryer while it's off. Then, turn it on in another room or on a very low setting so they can get used to the sound from a distance. Offer treats and praise throughout this process. Once they seem comfortable, start with the blower on a low setting, directing the air initially at their rump or back, away from their face. Gradually work your way up to higher settings and other body parts as your dog tolerates it.
Always hold the nozzle a few inches away from the coat, moving it steadily in sections. You’ll visibly see the fur separating and loose undercoat flying out. Direct the air against the grain of the fur initially to open the coat, then with the grain to smooth it down. Crucially, protect your husky's ears with cotton balls or ear muffs specifically designed for dogs, as the noise can be quite loud. Always use the dryer in a well-ventilated area, preferably outdoors or in a garage, because the amount of fur that will come off is substantial. You’ll thank yourself later when you don't have a carpet of husky fluff in your living room. When shopping for these powerful tools, remember that Chewy offers a diverse selection that includes highly-rated options.
Important Safety Considerations
Safety is paramount when using a high-velocity dryer. While these dryers don't use high heat like human hairdryers, the friction of the air can still generate some warmth, and prolonged exposure to one spot can cause skin irritation. Always keep the nozzle moving and never hold it stationary on your husky's skin. Most pet blowers come with variable speed and temperature settings, so always start with the lowest settings and adjust as needed, prioritizing your dog's comfort. Avoid directing the air directly into your husky's eyes, ears, or genitals, as these are sensitive areas.
As mentioned, ear protection for your husky is a must. The sound of a powerful blower can be distressing and potentially harmful to their sensitive hearing. You should also consider eye protection for yourself and possibly your dog, as loose fur and dander will be flying everywhere. If your husky becomes overly stressed or agitated, stop the session and try again later, or break it into shorter intervals. Never force them to endure it, as this can create a lifelong aversion to grooming. Building a positive association with treats and praise is crucial. And if any skin issues or accidental nicks occur during grooming, having a good pet insurance policy from a provider like Healthy Paws can offer peace of mind, covering potential vet visits.
Integrating Rakes and Blowers into Your Grooming Routine
Combining the targeted action of an undercoat rake with the powerful efficiency of a high-velocity dryer creates an unbeatable de-shedding strategy for any Siberian Husky owner. Instead of just reacting to the fur tsunami, you'll be proactively managing it, which leads to a happier, healthier husky and a cleaner home. This integrated approach ensures you're tackling loose fur at every level of their magnificent double coat.
A Step-by-Step De-Shedding Session
For an optimal de-shedding session, especially during a heavy coat blow, here's a routine that many experienced husky owners swear by:
- Pre-Rake: Start by thoroughly raking your husky's dry coat with an undercoat rake. This first pass will remove the bulk of the already detached fur and help to break up any minor tangles. Don't rush this step; be patient and work in sections, removing as much loose fur as possible before moving on. This initial step makes the next steps much more effective.
- The Bath (Optional but Recommended): While not strictly necessary for every de-shedding session, a bath can work wonders in loosening stubborn undercoat. Use a good quality de-shedding shampoo, letting it sit for a few minutes as directed to help release dead hairs. Rinse thoroughly, ensuring no residue is left behind, as this can irritate the skin. For more on this, consider Deshedding Shampoo for a Siberian Husky.
- The Blower Blast: This is where the high-velocity dryer shines. Immediately after the bath (or after your initial dry rake if skipping the bath), use the pet blower. Direct the powerful stream of air deep into the coat, working in sections. The air will literally blast out an astonishing amount of remaining loose undercoat. If you bathed your husky, this step is also critical for drying their dense coat completely to the skin, preventing moisture-related issues.
- Final Rake/Brush: Once your husky is completely dry and you’ve blown out as much fur as possible, go over their coat one last time with your undercoat rake or a slicker brush. This helps to catch any last stray hairs, smooth the guard hairs, and check for any spots you might have missed. It also helps to distribute natural oils, leaving their coat shiny and healthy.
This comprehensive approach not only tackles the existing loose fur but also helps to prevent future matting and skin issues, ensuring your husky’s coat remains in top condition.
Seasonal Adjustments and Maintenance
The frequency of your grooming sessions will largely depend on the season and your husky's individual shedding cycle. During the intense Spring and Fall Sheds in a Siberian Husky, you'll likely need to perform comprehensive de-shedding sessions (involving both raking and blowing) once or twice a week, or even more frequently for short bursts. The goal during these periods is to remove the undercoat as it sheds, preventing it from accumulating and becoming overwhelming. It's a race against the clock, but with the right tools, you stand a fighting chance.
In between these major coat blows, you can typically scale back to a lighter maintenance routine. A thorough raking once every week or two, combined with a quick blast from the high-velocity dryer to remove any loose hairs, might be sufficient. Regular light brushing helps to keep the outer coat neat and free of tangles. Many husky owners find that year-round maintenance is less about preventing shedding entirely (because that's impossible!) and more about consistent management. This proactive approach keeps the amount of fur in your home manageable and keeps your husky comfortable year-round. However, there will be times when even the best home grooming isn't enough, and that's when you might consider professional de-shedding services, which we explore in Professional De-Shedding for a Siberian Husky. Ensuring your husky is on a high-quality diet, perhaps even a fresh food option like Ollie, can also contribute to overall skin and coat health, potentially reducing excessive shedding caused by poor nutrition.
Undercoat Rake vs. High-Velocity Dryer: A Quick Comparison
To help you decide when to reach for which tool, here’s a quick overview of their primary benefits and considerations.
| Feature | Undercoat Rake | High-Velocity Dryer (Pet Blower) |
|---|---|---|
| Primary Action | Manual removal of loose undercoat by pulling/lifting | Blasting loose undercoat, dirt, and dander with powerful air stream |
| Effectiveness | Excellent for separating and removing detached fur | Superior for deep undercoat removal, drying, and preventing matting |
| Speed | Slower, requires patience and meticulous sectioning | Much faster, removes large volumes of fur quickly |
| Noise Level | Silent | Can be loud; requires acclimation and ear protection for dog/owner |
| Drying Power | None (used on dry coat) | Extremely effective for fast and thorough drying after baths |
| Cost | Generally inexpensive to moderately priced | Higher initial investment |
| Skill Level | Easy to learn, requires gentle technique | Requires careful handling and safety awareness, especially near face |
| Best For | Regular maintenance, initial de-shedding, smaller areas | Heavy coat blows, post-bath drying, comprehensive de-shedding |
Disclaimer
This article is for general informational purposes only and does not constitute professional advice. Laws, prices and regulations vary by location and change over time. Consult a qualified professional for guidance on your specific situation.