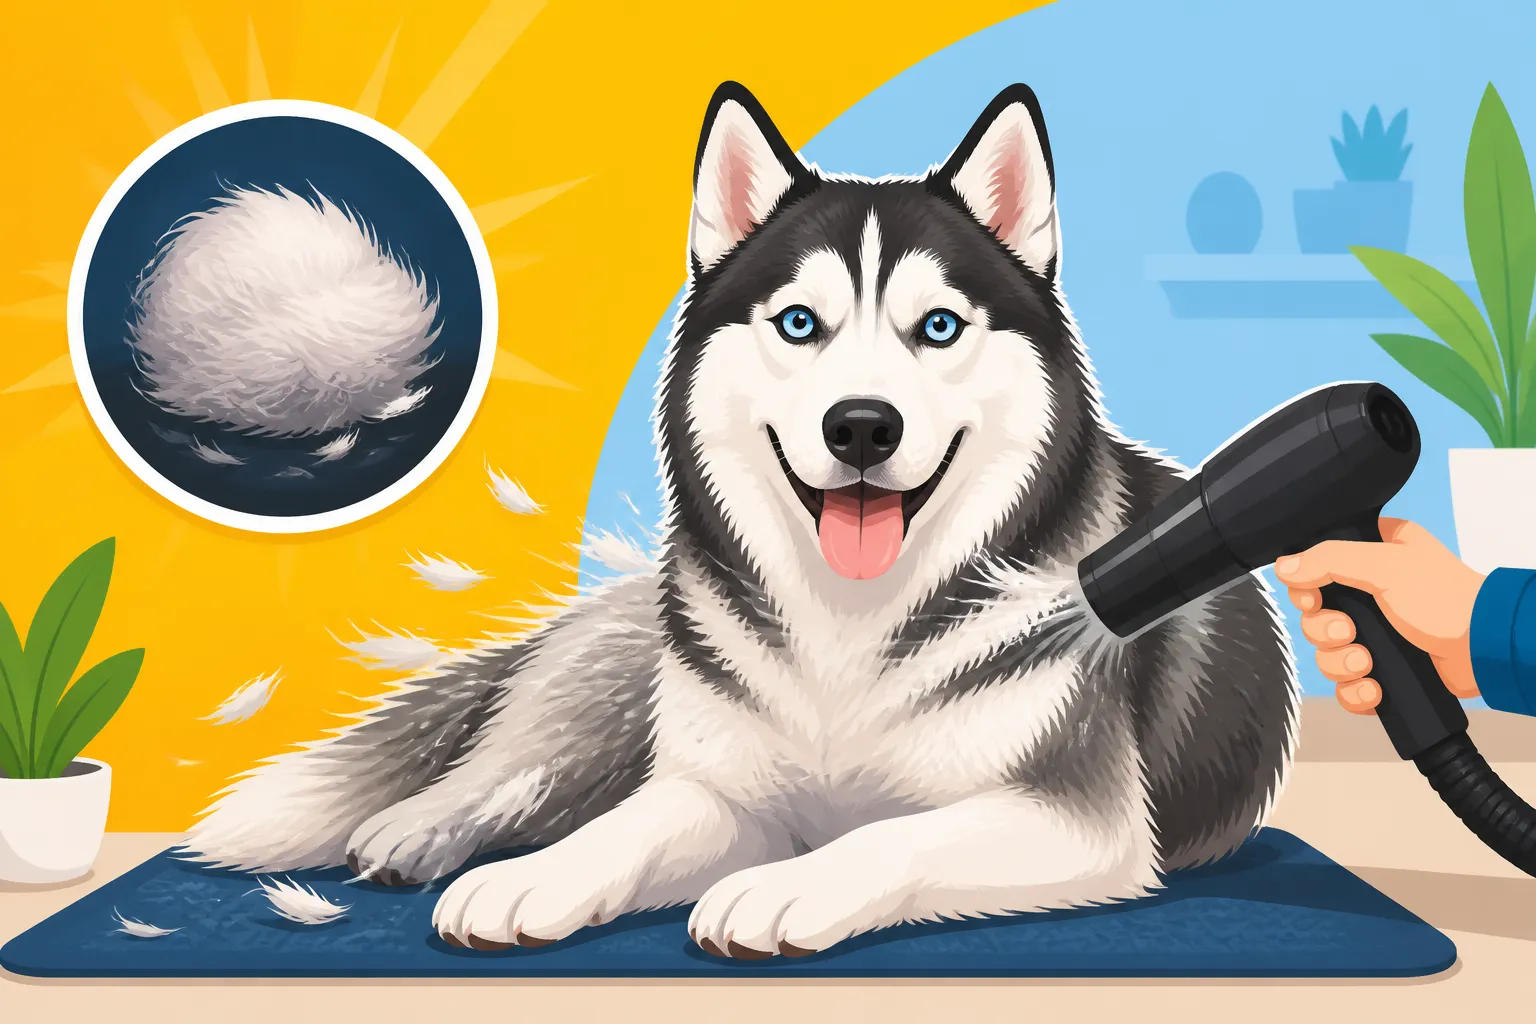
Blowing Out a Siberian Husky Coat at Home
If you're a Siberian Husky owner, you know the absolute tidal wave of fur that can descend upon your home during "coat blow" season. It’s not just shedding; it’s an explosion of undercoat that can make your house look like a yeti exploded in the living room. This guide is here to walk you through the process of effectively blowing out your Siberian Husky's coat at home, helping you manage the fur-nado and keep your beautiful dog comfortable and healthy.
Understanding the Siberian Husky Coat Blow
Let’s be real: owning a Siberian Husky means accepting fur as a permanent fixture in your life. But nothing quite prepares you for the scale of a full-blown coat drop. It's a natural, essential process for these northern dogs, but it can be incredibly challenging for us humans to navigate without the right approach.
What is "Coat Blow" Anyway?
"Coat blow" is the rather dramatic term for when a Siberian Husky sheds its entire undercoat. Unlike other breeds that shed a little year-round, huskies have a dense double coat designed to protect them from extreme temperatures, both hot and cold. This coat consists of two layers: coarse guard hairs on top that protect against water and dirt, and a soft, fluffy undercoat that provides insulation. When the seasons change, especially from winter to spring and then again from summer to fall, your husky needs to swap out this insulating layer. In the spring, they shed their thick winter undercoat to make way for a lighter summer one. In the fall, they shed their summer coat to grow a denser winter one. It's a massive physiological shift, and it results in an astonishing amount of loose fur. This process is entirely natural and crucial for your dog's comfort and skin health.
When Does Your Husky Blow Its Coat?
Generally, Siberian Huskies will experience two major coat blows a year: one in the spring and another in the fall. The spring blow is usually the most dramatic, as they're shedding the thick, dense undercoat they grew for winter. The fall blow prepares them for the colder months, exchanging their lighter summer fluff for a new, insulating layer. However, the exact timing can vary widely depending on factors like climate, whether your dog lives primarily indoors or outdoors, and even individual genetics. Some Huskies in stable indoor environments with consistent temperatures might shed more gradually year-round, while others might have intense, concentrated periods. Don't be surprised if your husky seems to be shedding constantly – it's just the nature of the beast! You might notice your husky blowing coat if you start finding enormous clumps of soft, woolly fur coming off with minimal effort, or if their coat appears visibly thinner in certain areas. Understanding Siberian Husky Coat Blow and the Six Weeks It Lasts can help you set expectations.
The Sheer Volume of Hair
Let's not sugarcoat it: the amount of hair a Siberian Husky can produce during a coat blow is legendary. It’s not just a few stray hairs; we're talking about enough fur to stuff several pillows, or perhaps knit a whole new dog! Many owners feel overwhelmed, constantly vacuuming, brushing, and still finding fur tumbleweeds rolling across the floor. This isn't a sign of poor grooming or a health problem (though excessive, patchy hair loss can be), but rather a testament to the incredible density of their double coat. It’s easy to get frustrated, feeling like you're fighting a losing battle against the fur. But with the right tools and techniques, you can significantly reduce the amount of loose hair in your home and help your husky feel much better. Remember, their comfort is key, and getting rid of that old undercoat prevents matting and allows their skin to breathe.
Essential Tools for At-Home Coat Blowing
Attempting a full coat blow-out without the right equipment is like trying to shovel snow with a teaspoon – utterly futile and guaranteed to leave you exhausted and defeated. Investing in a few key tools will make the process much more efficient and less stressful for both you and your husky.
The High-Velocity Dryer: Your Best Friend
Forget your human hairdryer; it's simply not powerful enough and can even damage your husky's delicate skin with too much heat. For blowing out a husky coat, a high-velocity dog dryer is an absolute game-changer. These dryers push a powerful stream of unheated or minimally heated air that blasts through the guard hairs and directly lifts the undercoat away from the skin. It’s a bit like a pressure washer for fur. Not only does it dry your dog incredibly quickly after a bath, but its primary magic during a coat blow is to literally blow out all that loose undercoat before it has a chance to settle on your furniture. It's incredibly satisfying to watch clouds of fur come flying off your dog, knowing it's not going to end up in your carpet. Look for models designed for large, double-coated breeds. You can often find excellent options on sites like Chewy or Amazon. This tool alone will save you countless hours of brushing and vacuuming. Learning about Undercoat Rakes and Blowers for a Siberian Husky provides more details on what to look for.
Rakes, Combs, and Brushes
While the high-velocity dryer does most of the heavy lifting, a good set of traditional grooming tools is still essential for preparing the coat and finishing up.
- Undercoat Rake: This tool has long teeth that reach deep into the undercoat without pulling on the guard hairs. It's fantastic for gently loosening and pulling out dead undercoat before or after using the dryer. Use it with a light hand, following the direction of hair growth.
- Slicker Brush: A slicker brush, with its fine, wire bristles, is great for removing surface tangles and smoothing the coat. It’s not ideal for deep undercoat removal during a blow, but it's perfect for maintenance between major sheds.
- Wide-toothed Comb: A simple metal comb can help check for any missed tangles or mats, especially behind the ears, on the ruff, and in the "pants" (the fur on the back of their thighs).
- De-shedding Tools: There are many de-shedding tools on the market, some with blades designed to grab and remove loose undercoat. While effective, they should be used sparingly and correctly to avoid damaging the guard hairs or irritating the skin. Always follow the manufacturer's instructions and be gentle.
A combination of these tools will ensure you can tackle any type of coat situation your husky throws at you.
Grooming Table or Dedicated Space
Trying to groom a large, wiggly Siberian Husky on the floor is a recipe for back pain and frustration. A dedicated grooming space or even a sturdy, elevated table can make a huge difference. If you don't have a professional grooming table, a non-slip mat on a sturdy outdoor picnic table or even a large workbench can work in a pinch. The elevation makes it easier on your back, and it also helps contain the flying fur to a more manageable area, especially if you're using a high-velocity dryer. Many owners prefer to do the bulk of the coat blow-out process outdoors, precisely because of the sheer volume of fur. If doing it indoors, ensure you have plenty of ventilation and are prepared for a serious cleanup session afterward. Having a comfortable, secure spot for your husky also makes them more likely to tolerate the process, turning it into a routine rather than a wrestling match.
Step-by-Step Guide to Blowing Out the Coat
Okay, you’ve got your tools, you understand the mission, now let’s talk strategy. Blowing out a Siberian Husky’s coat isn't a five-minute job, but breaking it down into manageable steps will make it far less daunting.
Prepping Your Husky and Your Space
Before you even turn on that high-velocity dryer, a little preparation goes a long way. First, take your husky for a good, long walk or run. A tired husky is a much more cooperative husky! Let them relieve themselves and burn off some excess energy. This helps them relax and be more amenable to standing still for the grooming session.
Next, prepare your grooming area. If you're doing this outdoors, pick a day with low wind to prevent fur from immediately blowing back onto your dog (or your face!). If indoors, choose an easy-to-clean area like a garage, bathroom, or utility room. Lay down old sheets or tarps if you're concerned about fur accumulating in crevices. Gather all your tools – dryer, various brushes, a towel, and plenty of high-value treats. Make sure you have ear protection for yourself if the dryer is loud, and consider some for your husky, too, though many adjust well to the noise. Positive reinforcement, with treats and praise, is going to be your best friend throughout this whole process.
The Bath: When and Why
A bath isn't always strictly necessary for a coat blow, but it can definitely help loosen up that dead undercoat, especially if your husky hasn't had a bath recently. Warm water and a good quality de-shedding shampoo can penetrate the coat and help shed hairs release more easily. If you do bath them, make sure to use a shampoo formulated for dogs. Deshedding Shampoo for a Siberian Husky can make the process more effective. Follow up with a conditioner to moisturize the skin and coat.
The most critical part of bathing a double-coated breed like a husky is thorough rinsing and drying. Any shampoo or conditioner residue left behind can irritate the skin, and an incompletely dried undercoat can lead to skin issues like hot spots. This is where your high-velocity dryer truly shines. You'll want to use it immediately after the bath to blast out as much water as possible. Some people even do a "pre-blow" with the dryer before the bath to get rid of the initial layer of loose fur, then bath, then another full dry and blow. This two-stage approach can be incredibly effective for extreme shedding cases.
The Drying Process: Technique is Key
This is where the magic happens! Once your husky is either freshly bathed and towel-dried, or simply ready for a dry coat blow-out, it's time for the high-velocity dryer.
- Introduce Gradually: If your husky isn't used to the dryer, start by turning it on low power a distance away, rewarding them for calm behavior. Gradually move closer, increasing power as they tolerate it. Some huskies take to it like a duck to water, others need more patience.
- Section by Section: Don't try to do the whole dog at once. Work in sections. Start at the rear and work your way forward. Point the nozzle directly at the skin, holding the guard hairs back with your free hand. You'll see the undercoat fly out in impressive clouds!
- Angle and Motion: Use a sweeping motion, angling the air stream against the direction of hair growth. This helps lift the undercoat and effectively blow it out. As you work, you'll see the coat fluff up dramatically, indicating you're getting deep down.
- Pay Attention to Problem Areas: Areas like the ruff (around the neck), the "pants" (rear legs), and the tail tend to have the densest undercoat. Spend extra time here. Be careful around sensitive areas like the face, ears, and genitals, using lower power or a towel shield. Never point the air directly into their eyes or ears.
- Look for Clean Skin: You're aiming to get down to the skin. The coat should feel light and airy, and you should be able to see their skin (or at least feel it easily) in the areas you’ve worked.
- Breaks and Rewards: Keep the sessions positive and include plenty of breaks. Offer treats, praise, and a moment to shake off any stress. A husky that feels good about grooming will be much easier to work with next time.
For a deep dive into this, check out Force Drying a Siberian Husky After a Bath.
Post-Dry Brushing and Finishing Touches
After you've done the main high-velocity blow-out, you'll still have some loose hairs lingering, and the coat might look a little…wild. This is where your brushes and combs come back into play.
- Final Rake Through: Take your undercoat rake and do a thorough pass over the entire dog, from head to tail. You'll likely still get some smaller clumps of fur, but it should be significantly less than before the dryer. This also helps to further separate the guard hairs and undercoat, ensuring optimal air circulation.
- Slicker Brush for Smoothness: Follow up with a slicker brush to smooth down the guard hairs and give the coat a finished, glossy look. This also helps catch any remaining shed hairs that are clinging to the outer coat.
- Comb Check: Use your wide-toothed comb to run through the entire coat, especially in areas prone to matting like behind the ears, under the legs, and on the tail. If the comb glides through easily, you’ve done a great job! If it snags, go back with your rake or slicker brush to work out the tangle gently.
- Paw Pad and Nail Check: While you're at it, it’s a great time to check their paw pads for any debris or cracks and trim their nails if needed. Siberian Husky Paw Care Through Snow and Salt is a great resource for maintaining healthy paws.
- Reward and Cuddles: End the session with a big reward – a favorite treat, a vigorous play session, or lots of cuddles. This reinforces that grooming is a positive experience, making future sessions easier. Your husky will feel lighter and cleaner, and you'll have a much happier, less-shedding companion.
Tips for Managing the Mess and Your Sanity
Even with the best tools and techniques, a husky coat blow is going to be messy. Accepting that upfront can save you a lot of stress. But there are strategies to minimize the impact on your home and your peace of mind.
Containment Strategies
The fur will fly – literally. If you can, performing the main blow-out process outdoors is by far the cleanest option. The wind will carry away a good portion of the fur, and anything that settles can be easily swept or raked up from the ground. If you must groom indoors, a garage or a large, tiled bathroom is your best bet. Close off vents and doorways to prevent fur from circulating throughout the house.
After the session, a good vacuum cleaner is essential. Standard household vacuums can quickly get clogged with husky fur, so consider investing in a model designed for pet hair. Brands like Dyson Animal or Shark Rotator are often recommended by pet owners for their strong suction and anti-tangle features. Emptying the canister frequently is key to maintaining suction. For weekly maintenance between major coat blows, a robot vacuum can be a lifesaver, running daily to keep the ambient fur levels down. Vacuums That Handle Siberian Husky Undercoat can give you some excellent recommendations. Also, keep lint rollers handy for clothing and furniture, and consider washable couch covers to protect your upholstery.
Maintaining Between Blows
The work doesn't stop once the main coat blow is over. Regular maintenance throughout the year will help reduce the intensity of future blows and keep your husky’s coat healthy.
- Weekly Brushing: Even when not actively blowing coat, a weekly brushing session with an undercoat rake or slicker brush will remove loose hairs before they have a chance to fall out naturally. This helps maintain coat health and prevents mats. Consistency is far more effective than sporadic, intense sessions.
- Balanced Diet: A high-quality diet plays a significant role in coat health. Look for dog foods with good sources of omega fatty acids (like fish oil) which contribute to a healthy skin and coat. Some owners also add supplements, but always consult your vet before introducing new supplements to your dog's diet. Zinc-Responsive Dermatosis in the Siberian Husky highlights the importance of proper nutrition for skin and coat health in this breed.
- Regular Baths: While not a weekly affair, a bath every few months, or when your husky gets particularly dirty, will help keep the coat clean and healthy. Remember to dry them thoroughly!
Consistent care will not only make your husky look and feel better but will also reduce the overall amount of fur you find around your home. For more routine advice, check out Siberian Husky Weekly Grooming Between Blows.
Recognizing When to Call a Pro
Sometimes, despite your best efforts, the coat blow can feel overwhelming, or your husky might be particularly uncooperative. There's absolutely no shame in seeking professional help.
- Overwhelm Factor: If you're constantly fighting your husky, feeling stressed, or just can't keep up with the volume of fur, a professional groomer can provide relief. They have specialized equipment, experience with challenging dogs, and can get the job done efficiently.
- Matting: If your husky’s undercoat has become severely matted, especially in hard-to-reach areas, it’s best left to a professional. Mats can be painful, pull on the skin, and can quickly lead to skin infections. Trying to cut them out yourself can be dangerous for your dog.
- Skin Issues: If you notice any redness, irritation, bald patches, or unusual bumps on your husky’s skin during grooming, it’s time for a vet visit, not just a groomer. These could be signs of underlying health issues.
- Time Constraints: Life gets busy! If you simply don't have the several hours required for a thorough at-home blow-out, a professional groomer is a fantastic resource. They can often provide "de-shedding" services that specifically target that dense undercoat. You might be surprised at the reasonable cost for professional de-shedding, especially considering the time and effort it saves you. Understanding Siberian Husky Grooming Costs Twice a Year can help you budget for these services.
Common Mistakes and How to Avoid Them
Even with the best intentions, it's easy to fall into common traps when grooming a Siberian Husky. Being aware of these pitfalls can help you avoid them and ensure your husky stays happy and healthy.
Shaving Your Husky: A Big No-No
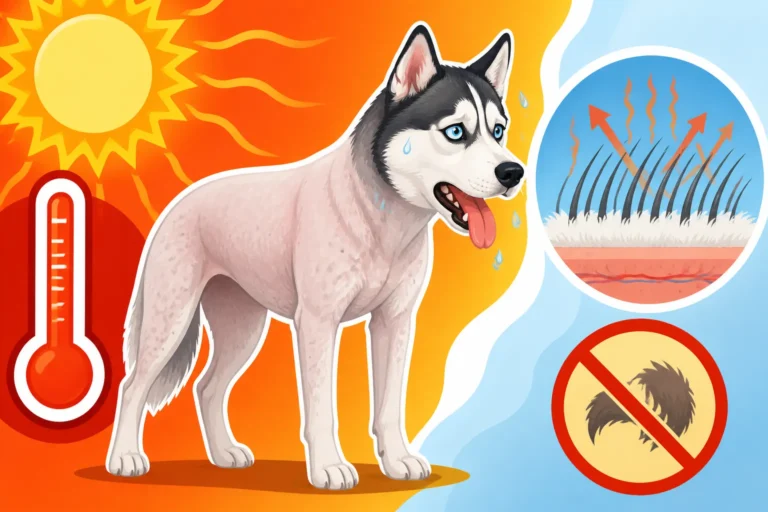
This is perhaps the most critical warning for any Siberian Husky owner. Never, ever shave your Siberian Husky. It might seem like a logical solution to the heat and shedding, but it actually does far more harm than good. The husky's double coat is specifically designed to regulate their body temperature. The dense undercoat provides insulation against both cold and heat. It creates an air barrier that keeps them cool in summer by preventing heat from penetrating to the skin, and warm in winter by trapping body heat.
When you shave a husky, you remove this natural insulation. This leaves their delicate skin exposed to the sun, leading to painful sunburn and an increased risk of skin cancer. It also makes them more susceptible to overheating because they lose their natural cooling mechanism. Furthermore, the guard hairs and undercoat often grow back unevenly after shaving, sometimes leading to a "wool-like" texture that is prone to matting and less effective at temperature regulation. The coat may never fully recover its original texture and function. Instead of shaving, focus on proper grooming techniques like blowing out the undercoat. You can read more about this in Why You Must Never Shave a Siberian Husky.
Not Being Patient Enough
Grooming a Siberian Husky, especially during a coat blow, requires patience in spades. These are intelligent, independent dogs, and they can be particular about being fussed over. Rushing the process, forcing them to stand still, or getting frustrated will only make your husky associate grooming with a negative experience. This can lead to resistance, anxiety, and an even harder time in future sessions.
Instead, break grooming sessions into smaller chunks. If your husky only tolerates 15-20 minutes of drying, that's okay. Take a break, play a game, and come back to it later. Use positive reinforcement liberally: treats, praise, and gentle strokes. If they're particularly stressed, slow down, reassure them, and perhaps even put the tools away for the day and try again tomorrow. Consistency and a calm demeanor on your part will build trust and make the process smoother over time. Remember, the goal isn't just a clean dog, but a dog that's comfortable and trusting during their care routine.
Ignoring Your Husky's Comfort
Your husky can't tell you directly if something hurts or if they're stressed, but they will show you through body language. Pay close attention to their signals during grooming. Signs of discomfort can include:
- Lip licking or yawning (stress signals)
- Turning their head away
- Tucking their tail
- Panting excessively (if not hot)
- Trying to escape or pull away
- Whining or growling (rarely, but possible if in pain or extremely fearful)
If you notice any of these signs, stop what you're doing. Reassess your approach. Are you pulling too hard with a brush? Is the dryer too loud or too close? Are you working on a sensitive area? Adjust your tools, take a break, or change your technique. Ensure the air from the dryer isn't too hot and isn't aimed directly at their eyes or ears. Always provide a non-slip surface if they're on a table to prevent falls and build confidence. Making grooming a comfortable, positive experience is paramount for maintaining a good relationship with your husky and ensuring their long-term cooperation.
Disclaimer
This article is for general informational purposes only and does not constitute professional advice. Laws, prices and regulations vary by location and change over time. Consult a qualified professional for guidance on your specific situation.