Drying a Siberian Husky to the Skin
If you're a Siberian Husky owner, you already know the struggle is real when it comes to bath time. Or even just a particularly enthusiastic puddle-jumping session! That thick, luxurious double coat is what makes our Huskies so iconic and resilient, but it also acts like a super-absorbent sponge, clinging onto moisture for what feels like an eternity. Trying to get that water out, right down to the skin, can feel like an impossible task, leaving you worried about damp patches and that dreaded "wet dog" smell that just never seems to fully disappear. This guide is here to walk you through how to properly dry your Siberian Husky to the skin, preventing common problems and keeping their magnificent coat healthy and happy.
The Critical Importance of Drying Your Siberian Husky to the Skin
It might seem like a minor detail, but ensuring your Siberian Husky is dried thoroughly, right down to their skin, is absolutely non-negotiable for their health and comfort. Their double coat isn't just for looks; it's a marvel of natural engineering designed to protect them from extreme temperatures. However, this same design can become a liability if not managed correctly after it gets wet.
The Unique Challenge of the Siberian Husky Double Coat
Think of your Husky's coat not as one layer, but two incredibly distinct ones working in tandem. There's the outer layer, the guard hairs – these are coarser, longer, and designed to repel water and dirt, protecting the delicate undercoat. Then, beneath that, is the true wonder: the undercoat. This soft, dense, downy layer is what provides insulation, trapping air to keep them warm in winter and cool in summer. When this undercoat gets wet, it absorbs an astonishing amount of water, and because it's so dense, air struggles to circulate through it.
If this inner layer isn't dried completely, it becomes a breeding ground for all sorts of trouble. It's like trying to dry a down comforter that's been soaked – it takes forever, and if you don't do it right, it can start to smell musty or even mildew. The sheer volume of fur on a Siberian Husky, especially when they're Siberian Husky Coat Blow and the Six Weeks It Lasts, means there's a huge surface area to dry, making the task even more daunting for owners.
Health Risks of a Damp Undercoat
Leaving your Husky with a damp undercoat isn't just about avoiding that unpleasant wet dog odor. It poses several serious health risks that every Husky owner should be aware of.
- Hot Spots and Skin Infections: This is perhaps the most common and uncomfortable issue. A persistently damp, warm environment against the skin creates the perfect conditions for bacteria and yeast to flourish. These can quickly lead to painful, inflamed areas known as hot spots (pyotraumatic dermatitis). These spots can appear seemingly overnight, causing intense itching, redness, and even hair loss, and they require veterinary attention to clear up. Imagine having an itchy, oozing patch of skin hidden under all that fur – it's miserable for your dog. Whether a Wet Siberian Husky Undercoat Causes Hot Spots delves deeper into this particular concern.
- Matting and Skin Irritation: Damp fur, especially when combined with natural shedding, can tangle and matt incredibly easily. When mats form close to the skin, they pull on the skin, causing pain and irritation. These mats also prevent air from reaching the skin, exacerbating the risk of skin infections. They can become so tight they restrict movement and can even lead to skin tears or pressure sores. It's a cruel cycle where dampness leads to mats, which leads to more dampness and skin issues. Matting Behind a Siberian Husky's Ears is a particularly common spot for this.
- Unpleasant Odor: While Siberian Huskies are generally known for being quite clean and not having a strong "doggy" smell, a damp undercoat will absolutely ruin that reputation. The musty, mildewy smell comes from the bacterial and fungal growth thriving in the moist environment. No amount of doggy perfume or air freshener will cover it up; it requires a thorough drying process.
- Temperature Dysregulation: Ironically, a damp coat can also make it harder for your Husky to regulate their body temperature. While their coat typically helps them stay cool in summer, if it's wet and matted, it loses its insulative properties. The moisture can trap heat or, in colder weather, lead to them getting chilled. This is also why you should never Why You Must Never Shave a Siberian Husky, as it disrupts their natural temperature regulation.
Beyond the Bath: When Thorough Drying is Essential
It's not just after a full bath that you need to be diligent about drying your Husky. Life with a Husky means they're constantly finding ways to get wet!
- Rainy Day Adventures: A quick romp in the rain or a longer walk during a downpour can leave their undercoat surprisingly saturated. Don't assume a towel rub is enough if they've been out for a while.
- Swimming and Water Play: Many Huskies enjoy a good swim, especially in warmer weather. While great exercise, every dip means a full-on drying project afterward.
- Snow and Ice Encounters: While Huskies are built for snow, packed snow and ice can melt against their bodies, leaving them damp. And if they've been romping through slush, that's another opportunity for a damp undercoat. Even if they're seemingly fine, a quick check of the belly and chest can reveal hidden dampness.
- Dewy Grass: Even a morning stroll through heavily dewy grass can leave their legs and belly quite wet. It's easy to overlook these smaller instances, but over time, they can contribute to coat issues.
The Essential Tools and Effective Techniques for Drying
Drying a Siberian Husky "to the skin" isn't something you can achieve with just a few flimsy bath towels and a prayer. It requires the right equipment and a methodical approach. Investing in these tools will save you countless headaches, vet bills, and hours of frustration.
High-Velocity Dryers: Your Husky's Best Friend (and Yours!)
Let me be absolutely clear: a high-velocity force dryer is not a luxury; it's a necessity for any Siberian Husky owner. Your regular human hairdryer just won't cut it, and frankly, it can be dangerous. Human hairdryers rely on heat to dry, which can easily burn your dog's skin, especially with their dense undercoat trapping the heat. A High-Velocity Dryer for a Siberian Husky Coat provides more details on what to look for.
A good high-velocity dryer, sometimes called a "force dryer" or "blaster," works by moving a large volume of air at a high speed without relying on excessive heat. This powerful stream of air literally "blasts" the water off and out of the coat, separating the individual hairs and pushing the moisture away. It's the most efficient and safest way to dry a Husky thoroughly. You can find excellent options on platforms like Amazon or specialized pet supply stores. Look for models with adjustable speed and heat settings (though you'll mostly use cool or low heat).
Absorbent Towels and Microfiber: The First Line of Defense
Before you even think about the force dryer, you need to get as much standing water out of the coat as possible. This is where super-absorbent towels come in. Regular cotton bath towels work, but large microfiber towels designed for pets are even better. They are incredibly efficient at wicking away moisture.
- Technique: After the bath, gently but firmly squeeze water from your Husky's fur, starting from their head and working down their body. Don't rub vigorously, as this can tangle the fur and create mats. Instead, blot, press, and squeeze the towel against the coat. Replace saturated towels with dry ones. You'll be amazed at how many towels a single Husky can soak! Having a dedicated set of these towels is a must-have for Husky owners, and places like Chewy often have great multi-packs.
Brushing During Drying: Loosening Undercoat and Aiding Airflow
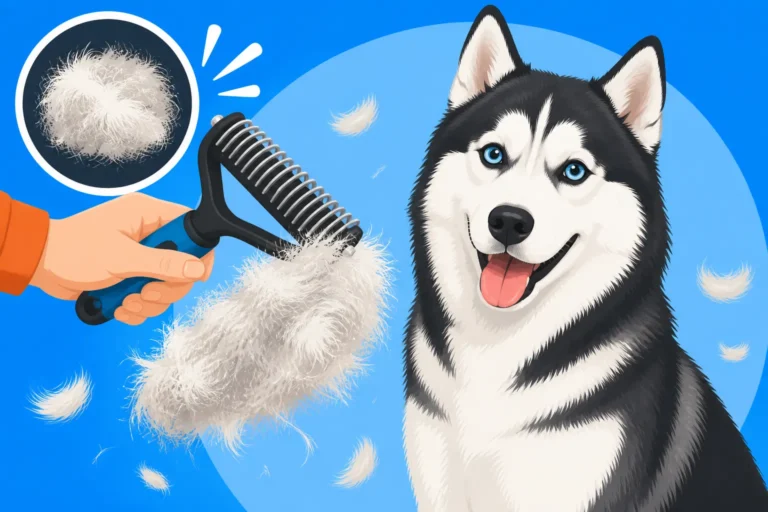
Brushing isn't just for de-shedding; it's an integral part of the drying process. As you dry, you'll want to use a slicker brush or an undercoat rake to help lift the undercoat and allow the air from the force dryer to penetrate more effectively.
- Technique: While towel-drying, and especially once you start with the force dryer, brush sections of the coat. This helps to separate the wet fur, ensuring the air can reach the skin. It also helps remove loose undercoat that's just holding onto water. This step dramatically speeds up drying time and prevents mats from forming as the coat dries. Undercoat Rakes and Slickers for a Siberian Husky provides guidance on choosing the right brushing tools.
The Pitfalls of Air Drying
For a double-coated breed like a Siberian Husky, simply letting them "air dry" is almost always a bad idea, especially after a full bath.
- Incomplete Drying: The dense undercoat will remain damp for hours, even a full day, creating the perfect environment for skin problems and that awful smell.
- Matting: As the fur air dries, it has a tendency to clump and matt, especially in areas of friction like behind the ears, armpits, and groin.
- Chilling/Overheating: The dampness can actually make it harder for them to regulate their temperature, leaving them either chilled (in cooler weather) or at risk of skin irritation from prolonged dampness in warmer temperatures.
- Dirt Magnet: A damp coat also attracts more dirt and debris, making them less clean than before the bath.
While it's okay for them to shake off a bit of rain outside and finish air drying, a full bath always requires a thorough drying process with appropriate tools. Bathing a Siberian Husky and How Rarely explains that infrequent bathing is often enough because of their self-cleaning coats, but when you do bathe, do it right.
Step-by-Step Guide to Drying Your Siberian Husky to the Skin
Alright, let's get down to business. Drying your Husky doesn't have to be a multi-hour battle if you follow a systematic approach. Patience is your greatest tool, alongside your force dryer!
Step 1: Maximize Initial Water Removal with Towels
As soon as the bath is over (and your Husky has performed their obligatory full-body shake, showering you and your bathroom in water!), grab your most absorbent towels.
- Action: Start by pressing and squeezing water out of the fur. Don't rub aggressively, as this can create tangles. Work from head to tail, focusing on the legs, chest, and belly where water tends to cling. Use multiple towels, swapping them out as they become saturated. The more water you can remove at this stage, the less work your force dryer has to do.
- Example: Imagine wrapping a super-absorbent towel around a leg and gently squeezing upwards, like wringing out a sponge. Repeat this several times per leg. For the body, press a towel firmly down and hold it for a few seconds to let it soak up as much moisture as possible.
Step 2: Set Up Your Drying Station and Prepare Your Husky
Choose a space that's easy to clean, well-ventilated, and where your Husky feels relatively secure. A sturdy grooming table with a non-slip surface is ideal, but a bathroom floor or a utility room can work too. Get your force dryer, a slicker brush or undercoat rake, and maybe some high-value treats ready. Ear protection for both you and your Husky (dog ear muffs are available on Amazon or specialized stores) is a thoughtful touch, as these dryers can be noisy.
- Action: Get your Husky onto the grooming surface. If they're anxious about the dryer, start by turning it on low and letting them get used to the sound and sensation from a distance before bringing it closer. Offer treats and praise for calm behavior.
- Example: You might spend a few minutes just letting the dryer run in the corner of the room while your Husky munches on a favorite chew. Gradually bring the dryer closer, letting the air blow on your hand first, then briefly on a non-sensitive area like their back, always paired with a treat.
Step 3: Sectioning the Coat for Systematic Drying
This is where the "to the skin" part really comes into play. You can't just blast air generally; you need to work through the coat in manageable sections.
- Action: Start at the back of your Husky, perhaps a hind leg or the tail. Use one hand to hold the fur up, exposing the skin at the base of the section you're working on. With the other hand, direct the nozzle of the force dryer directly onto the skin.
- Example: Picture dividing your Husky's body into imaginary zones – legs, belly, chest, sides, back, neck, head, tail. Pick a zone, lift the top layer of fur, and aim the dryer at the skin beneath. As that section dries, let the fur fall, and move to the next layer of damp fur.
Step 4: Mastering the High-Velocity Dryer Technique
The goal is to push the water out of the coat, not just dry the surface.
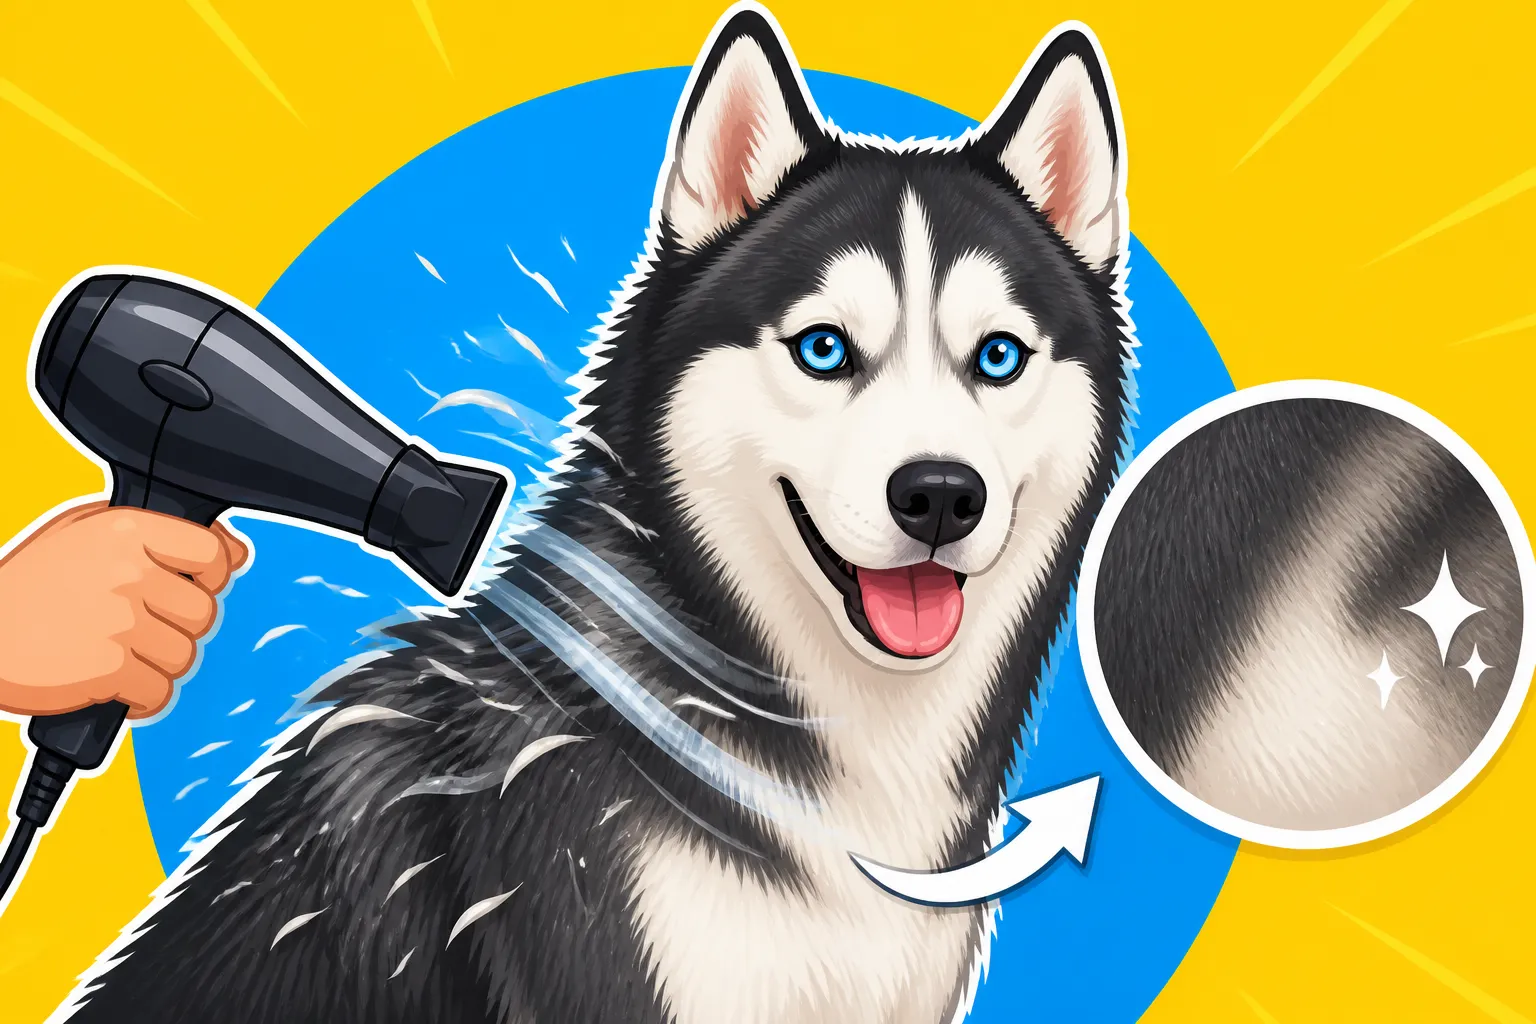
- Action: Hold the nozzle of the dryer close to the skin (but not touching) and point it in the direction the hair grows, pushing the water away from the body. As the water is blasted out, the hair will separate and fluff up. Use your slicker brush or undercoat rake to gently brush through the section you're drying. This helps lift the undercoat, allowing the air to penetrate better and remove loose hair. Work systematically, moving across the body, section by section. You'll see water droplets literally flying off the coat – that's what you want!
- Important Considerations:
- Temperature: Start on a cool or low-heat setting. The friction of the air can generate warmth, so you rarely need high heat. Always check the skin with your hand to ensure it's not getting too warm. Remember Keeping a Siberian Husky Cool Through Summer is important, and overheating can happen even with a dryer if you're not careful.
- Safety: Avoid directing the air directly into your Husky's eyes or ears. Use your free hand to shield sensitive areas.
- Patience: This process takes time, especially the first few times. A full, dense Husky coat can easily take 30-60 minutes or more to dry completely, even with a powerful dryer. Don't rush it.
- Example: You might start with a back leg. Hold up the top layer of fur near the hip. Direct the dryer at the skin, pointing the nozzle downwards towards the paw. As the fur parts and dries, move the dryer slowly down the leg. Once that section feels dry, release the fur you were holding and move to the next layer underneath, repeating the process.
Step 5: Checking for Residual Dampness
Once you think you're done, perform a thorough check. This is crucial for achieving "to the skin" dryness.
- Action: Run your fingers deep into your Husky's coat, all the way to the skin, feeling for any cool or damp patches. Pay extra attention to the thickest areas: the ruff around the neck, the chest, the armpits, the groin, the tail, and the back of the hind legs. If you feel any dampness, go back with the dryer until that section is completely dry.
- Example: Push your hand against the grain of the fur on their chest. Can you feel moisture deep down? Check the underside of their tail. Sometimes, the top feels dry, but the dense fur underneath is still damp.
Step 6: The Final Brush Out
Once your Husky is completely dry, a final brush-out will leave their coat looking magnificent and help remove any last bits of loose undercoat.
- Action: Use your slicker brush or undercoat rake for a thorough, all-over brush. This helps distribute natural oils, prevents matting, and ensures the coat is fluffy and pristine.
- Example: Finish with a long, satisfying brush session. Your Husky's coat should feel light, airy, and soft to the touch, with no clumping or dampness anywhere.
Common Mistakes and Troubleshooting for Husky Drying
Even with the right tools, drying a Siberian Husky can present challenges. Knowing what to watch out for and how to adapt can make the process smoother and more effective.
Rushing the Process: The Temptation to Quit Early
It's easy to get tired or assume "good enough" when you're faced with mountains of fur and a persistent dog. But remember, cutting corners on drying is where problems like hot spots and matting begin.
- The Frustration: You've been drying for what feels like an eternity, your arm is tired, and your Husky is starting to fidget. It's tempting to just say, "Eh, they're mostly dry, the rest will air dry."
- The Fix: Remind yourself of the consequences. Think of the cost of vet visits for skin infections or professional de-matting (which can be expensive – Siberian Husky Grooming Costs Twice a Year can give you an idea). Break the drying process into smaller chunks if you need to, or take a short break yourself. Offer your Husky high-value treats throughout to keep them engaged and tolerant. Consistency is key; the more you do it, the more they'll get used to it, and the faster you'll become.
Ignoring Hidden Damp Spots
Some areas of a Husky's anatomy are notorious for trapping moisture. Overlooking these can undermine all your hard work.
- Problem Areas: The deep ruff around the neck, the dense fur in the armpits and groin, the underside of the tail (especially if it's carried high), and the feathers on the back of the legs are common culprits.
- The Fix: Be extra diligent in these spots. Lift the fur, dig your fingers deep, and direct the dryer nozzle directly into these areas. You might need to spend a little more time here, continuously brushing and blasting until the fur feels completely dry and fluffy. Running your hand against the grain of the fur can help expose damp spots you might otherwise miss.
Overheating Your Husky
While force dryers use minimal heat, prolonged exposure to even ambient warm air, combined with your Husky's thick coat, can lead to overheating. This is especially true if you live in a warmer climate or if your dog is already a bit warm after their bath.
- Signs of Overheating: Excessive panting, bright red gums, lethargy, or a dazed expression. If you see these, stop immediately.
- The Fix: Always use a cool or low-heat setting on your force dryer. Take frequent breaks to allow your Husky to cool down. Offer them fresh water. If you notice any signs of overheating, stop drying, move them to a cooler area, and allow them to rest. Always check their skin temperature with your hand. The air coming out of the nozzle might feel cool to you, but trapped air in their dense coat can get warm. Remember that Keeping a Siberian Husky Cool Through Summer is a continuous effort, and grooming needs to be mindful of it.
Dealing with a Fearful Husky
The noise and sensation of a high-velocity dryer can be intimidating for some Huskies, especially if they haven't been desensitized to it from a young age.
- The Challenge: A Husky that's scared will pull away, try to escape, or even snap, making the drying process stressful for everyone involved.
- The Fix: Start slowly and positively. Introduce the dryer off, then on low from a distance, rewarding calm behavior with treats and praise. Gradually decrease the distance. Never force the dryer on them. Use a calm, reassuring voice. Work in very short sessions initially, even if it means drying only one leg at a time over several hours or days. You want them to associate the dryer with positive experiences. For some dogs, a professional groomer who has experience with Huskies and powerful dryers might be a good option for the first few times, to get them accustomed to the process in a controlled environment.
Taking the time to dry your Siberian Husky thoroughly, right down to the skin, after every bath or significant soaking, is one of the most important aspects of their coat and skin health. It prevents painful conditions, eliminates unpleasant odors, and ensures their magnificent double coat can continue to do its job effectively. It requires patience and the right tools, but the payoff in a healthy, happy Husky is immeasurable.
Disclaimer
This article is for general informational purposes only and does not constitute professional advice. Laws, prices and regulations vary by location and change over time. Consult a qualified professional for guidance on your specific situation.